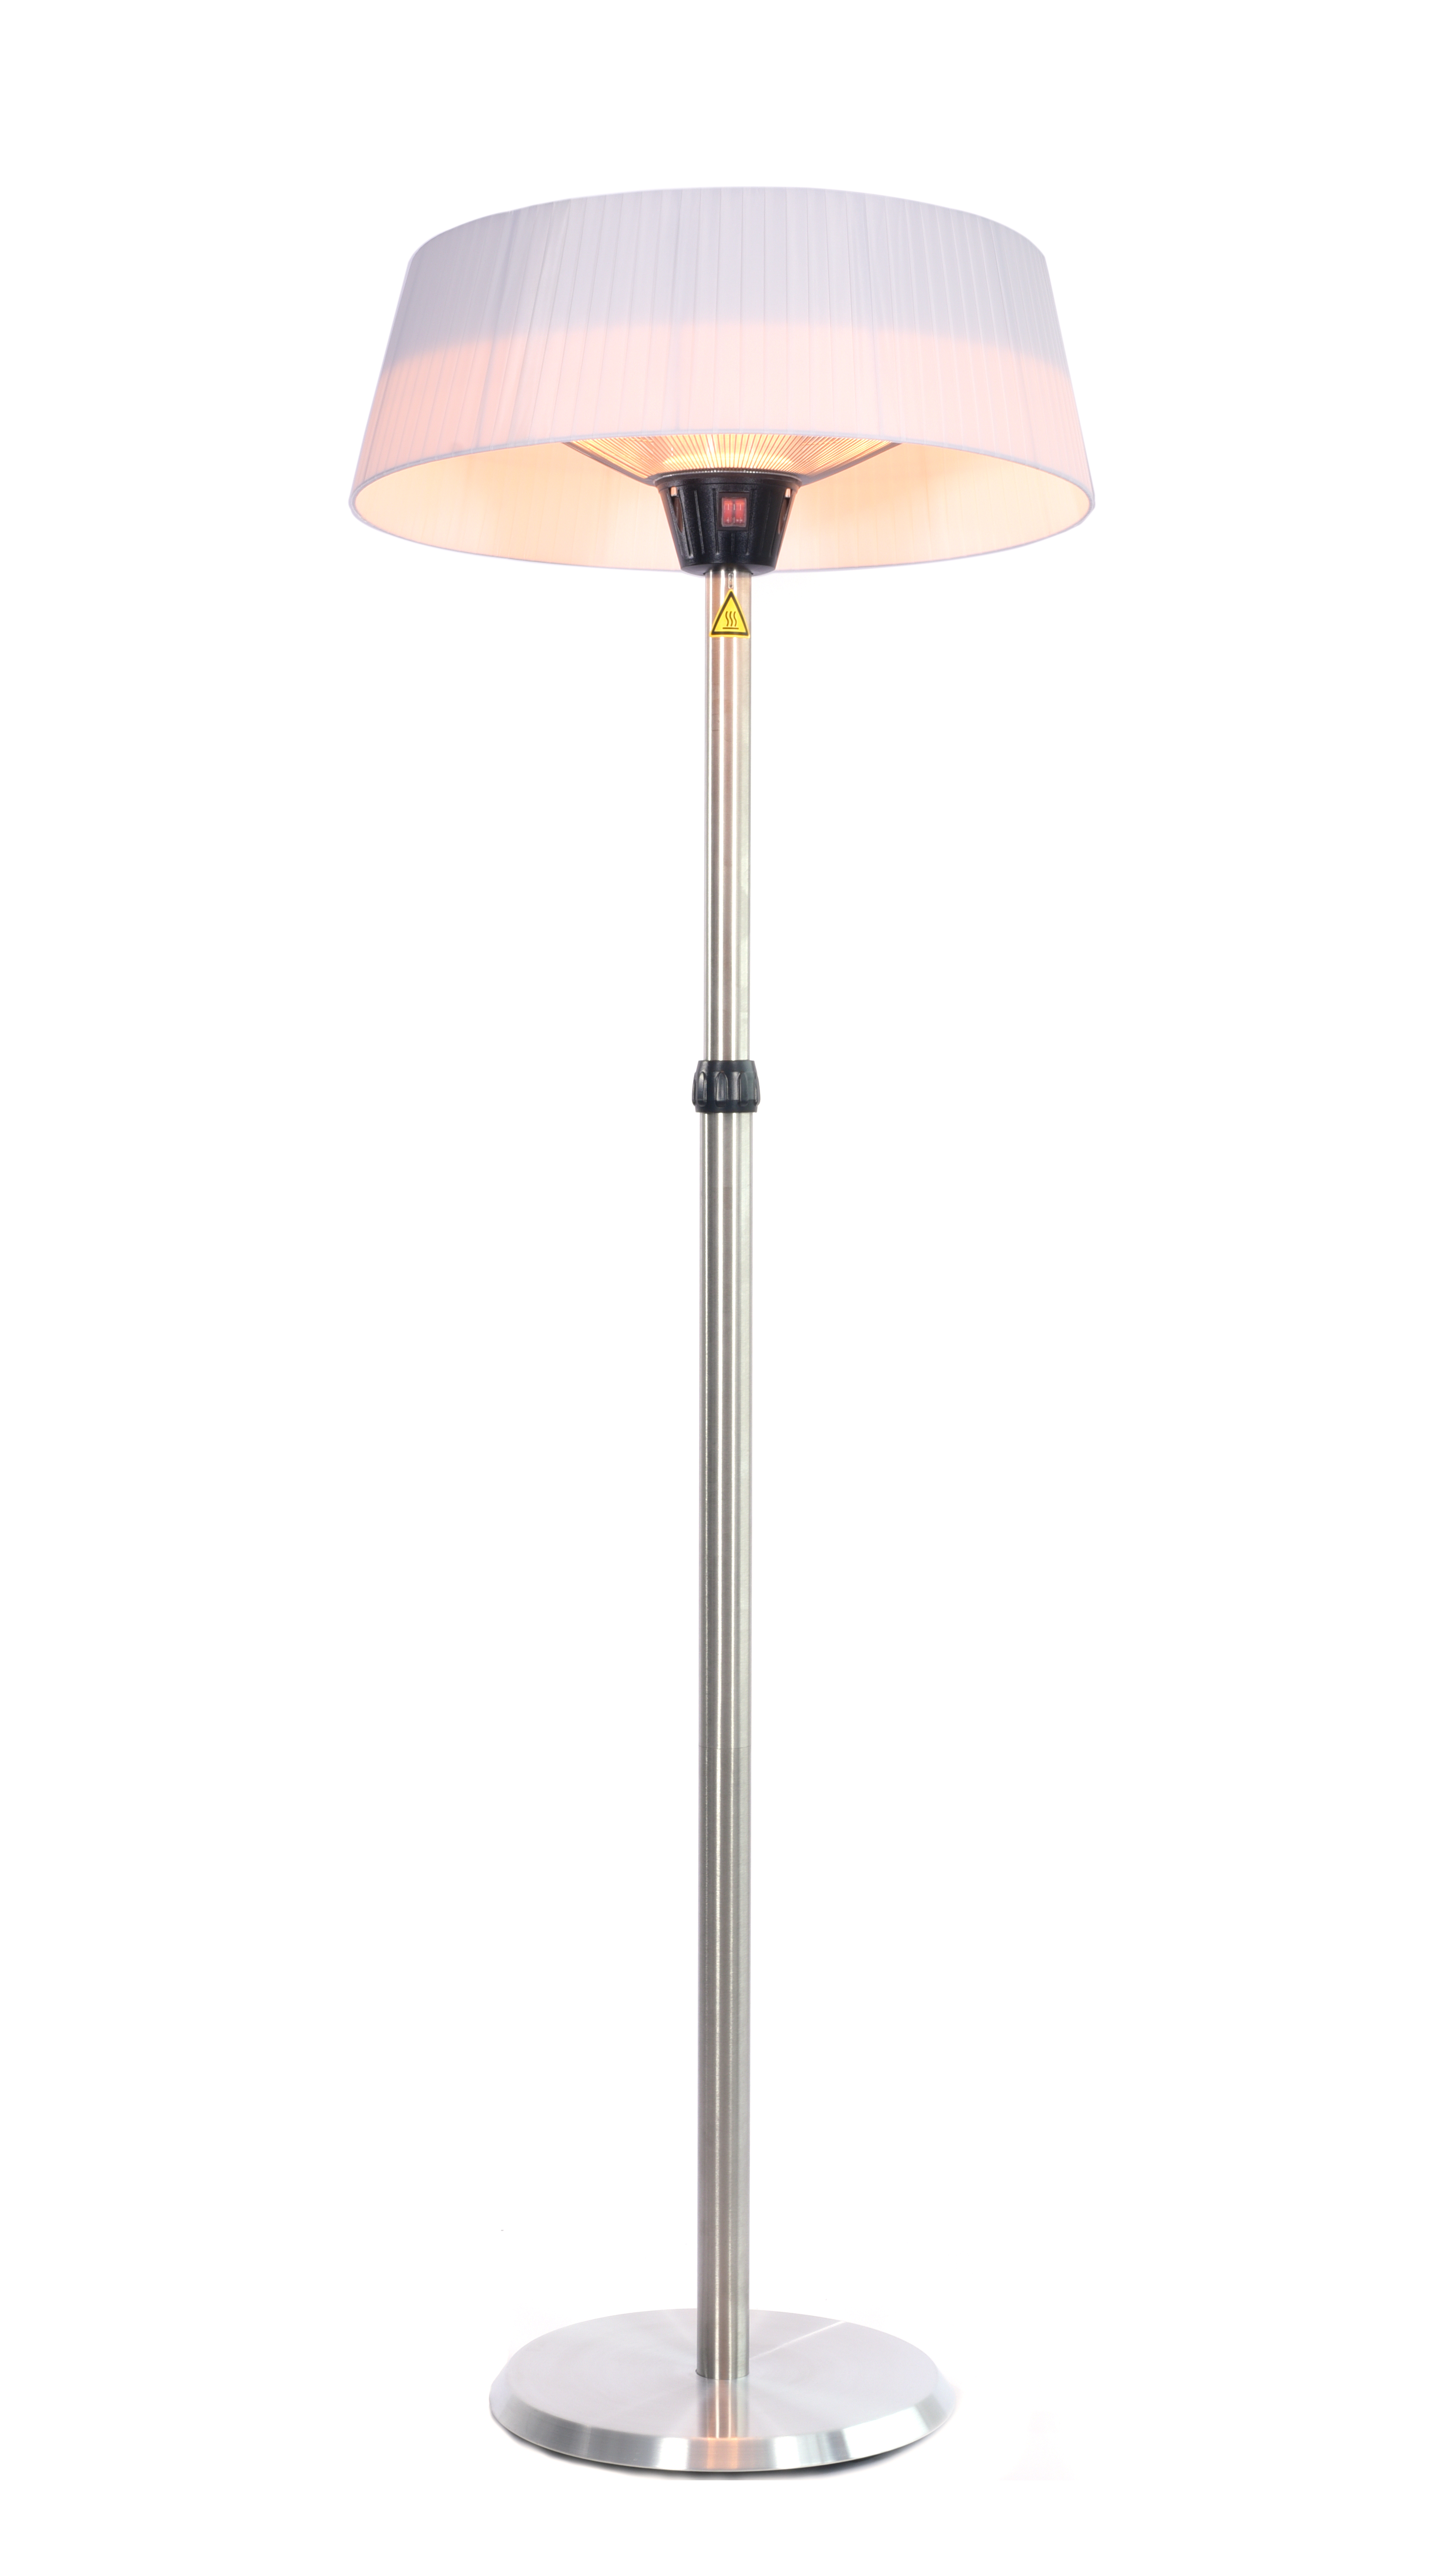
What to Measure before Changing Infrared Heater Lamp
The expensive mistake is to change hardware before the job has a measurable definition. Start with the workpiece, the acceptance test and the operating envelope. That keeps the investigation narrow enough to learn from.
Define the Endpoint
State the required a correctly matched element within a safe heater assembly, the location where it matters and the test that decides acceptance. Do not substitute a visible surface change for the actual requirement.
Run the Work in Order
- Record material, geometry and starting condition.
- Verify guards, exhaust or ventilation, cooling and stop logic.
- Establish the current baseline for heated length, voltage, power, termination and installed thermal response.
- Apply one bounded change to infrared heater lamp.
- Test the work with the agreed acceptance method.
- Save the recipe, evidence and exception notes.
Release Gate
Use representative material, a defined start condition and the real acceptance method. Establish a baseline, change one controlled variable, measure the result at more than one location and retain rejected as well as accepted samples. A lamp is a component, not a complete safe heater; the finished assembly requires validation.
Where the Product Record Fits
The current Oyate record describes a 700 mm, 220 V, 2500 W carbon infrared lamp record for patio heaters. That makes it a candidate to review only after the required heated length, voltage, power, termination and installed thermal response and mechanical/electrical interfaces are written down. Compare the documented record at Oyate patio-heater carbon lamp record, then qualify the installed result on representative work. The catalogue is evidence of an available product family; it is not proof of suitability for this task.
Related Articles
- How to Run A Controlled Infrared Lamp Heating in Finished Heaters Trial
- How Waveband, Geometry, Reflector, Voltage, Power and Airflow Changes Infrared Lamp Heating in Finished Heaters